环境
系统 : Windows 10
NodeJS : 14.21.3
Git : 2.3.8
一、创建Github Pages
参考官网教程: Github Pages
1. 在Github创建仓库
登录 Github,并创建一个仓库用来生成Github Pages
内容如下图所示:
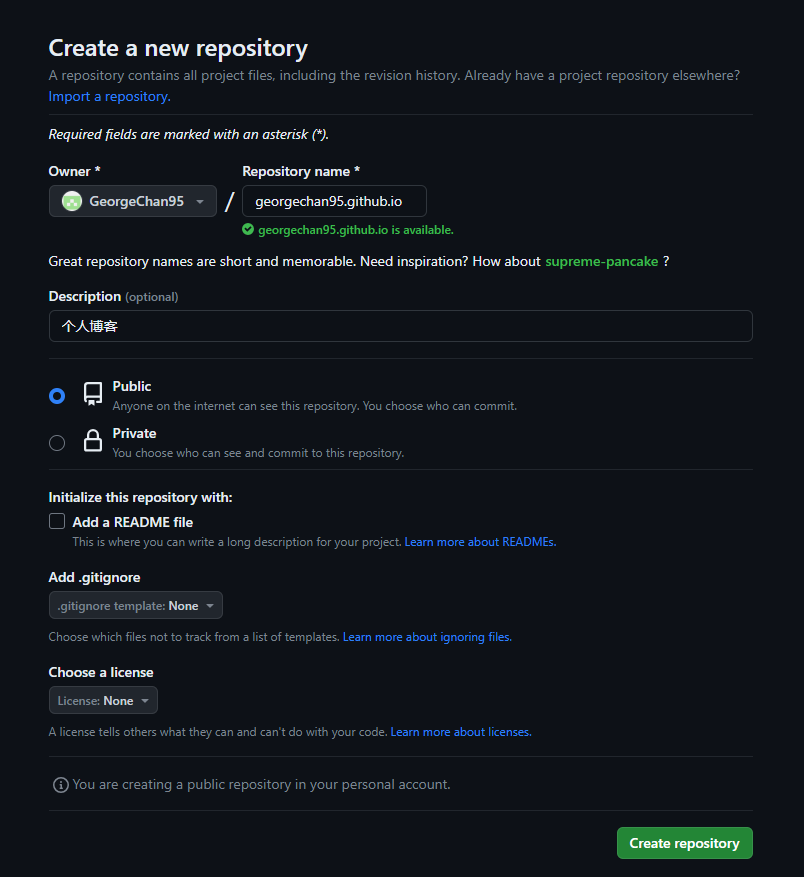
注意:
- 仓库名称是
Github用户名.github.io组成 - 仓库名中的用户名部分必须使用小写
- 仓库设置成public权限
点击 Create repositor 完成仓库的创建
2. 克隆仓库到本地
使用Git命令,将刚创建的博客仓库克隆到本地。
git clone https://github.com/GeorgeChan95/georgechan95.github.io.git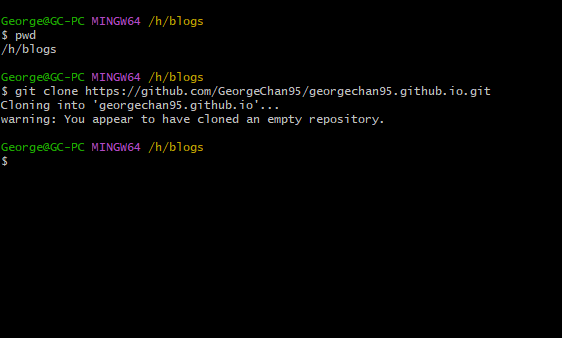
3. 添加博客测试页
进入博客目录,添加 index.html ,并写入测试内容
进入博客仓库目录
cd georgechan95.github.io/
写入内容到index.html
echo "Hello World" > index.html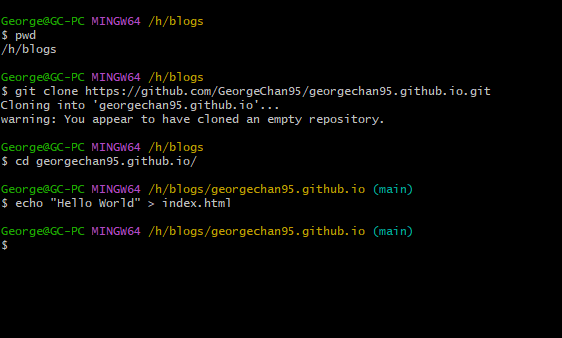
4. 推送到仓库
使用Git命令,将测试页内容推送到博客仓库中
git add --all
git commit -m "添加博客测试页"
git push -u origin main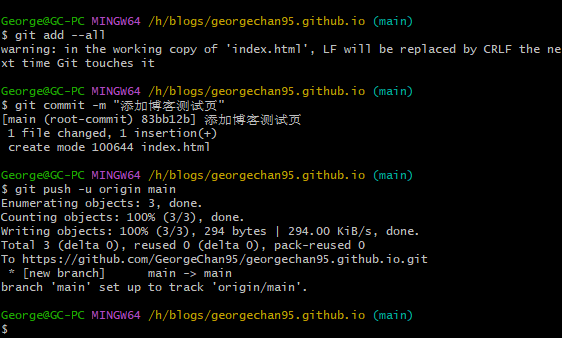
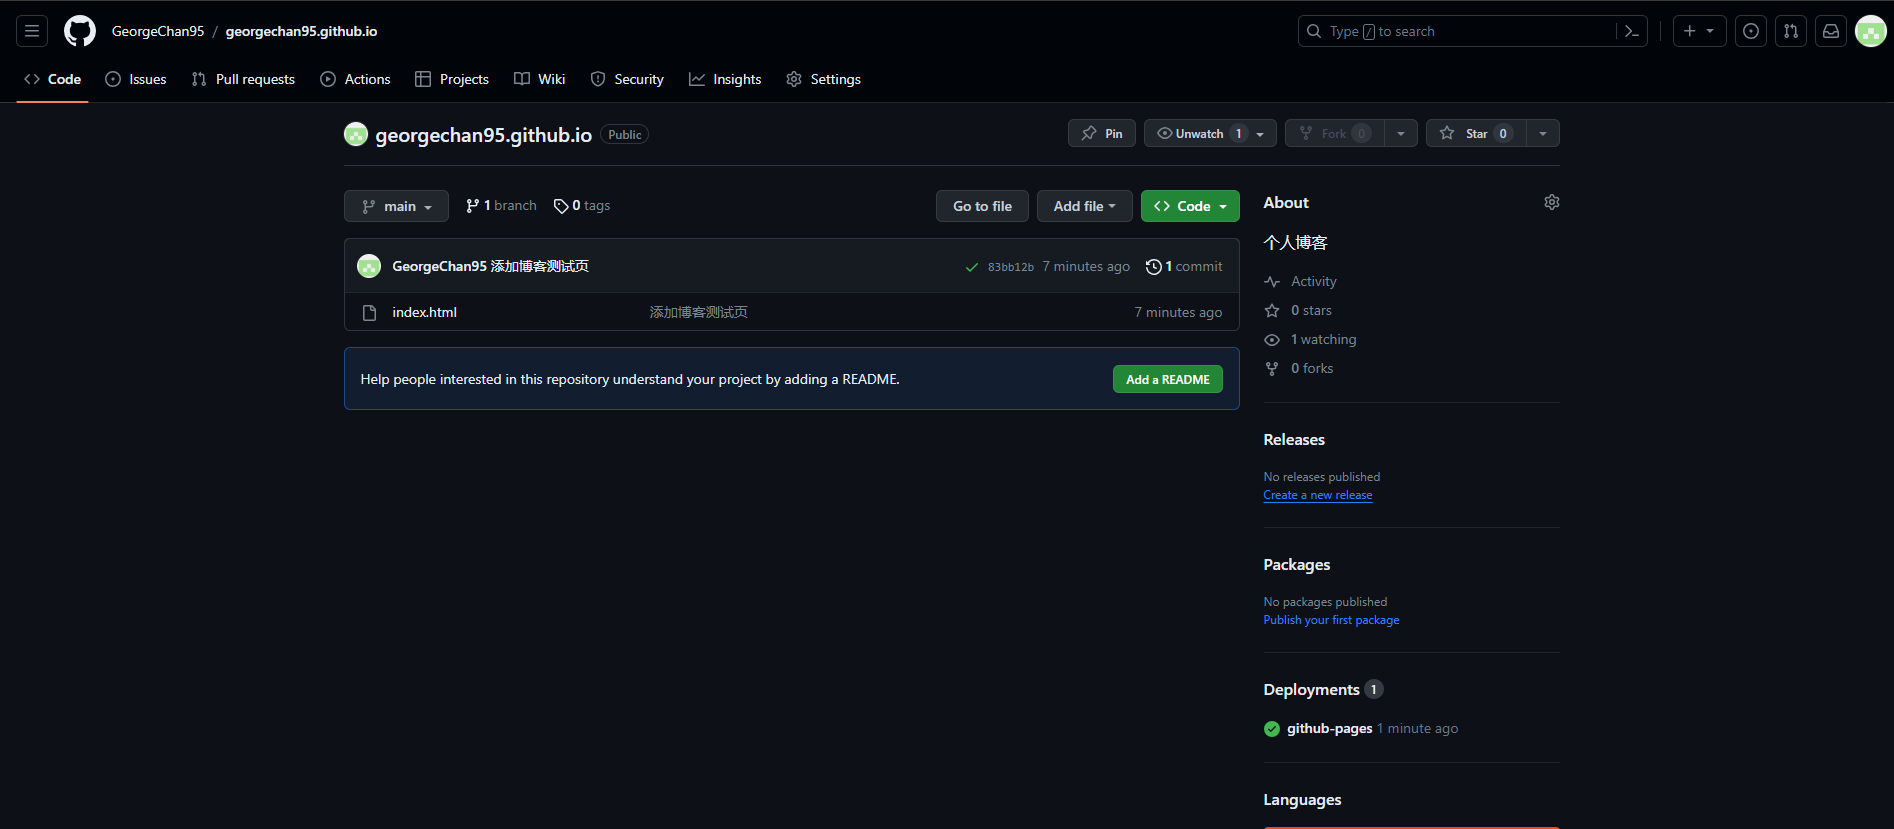
5. 刷新Github
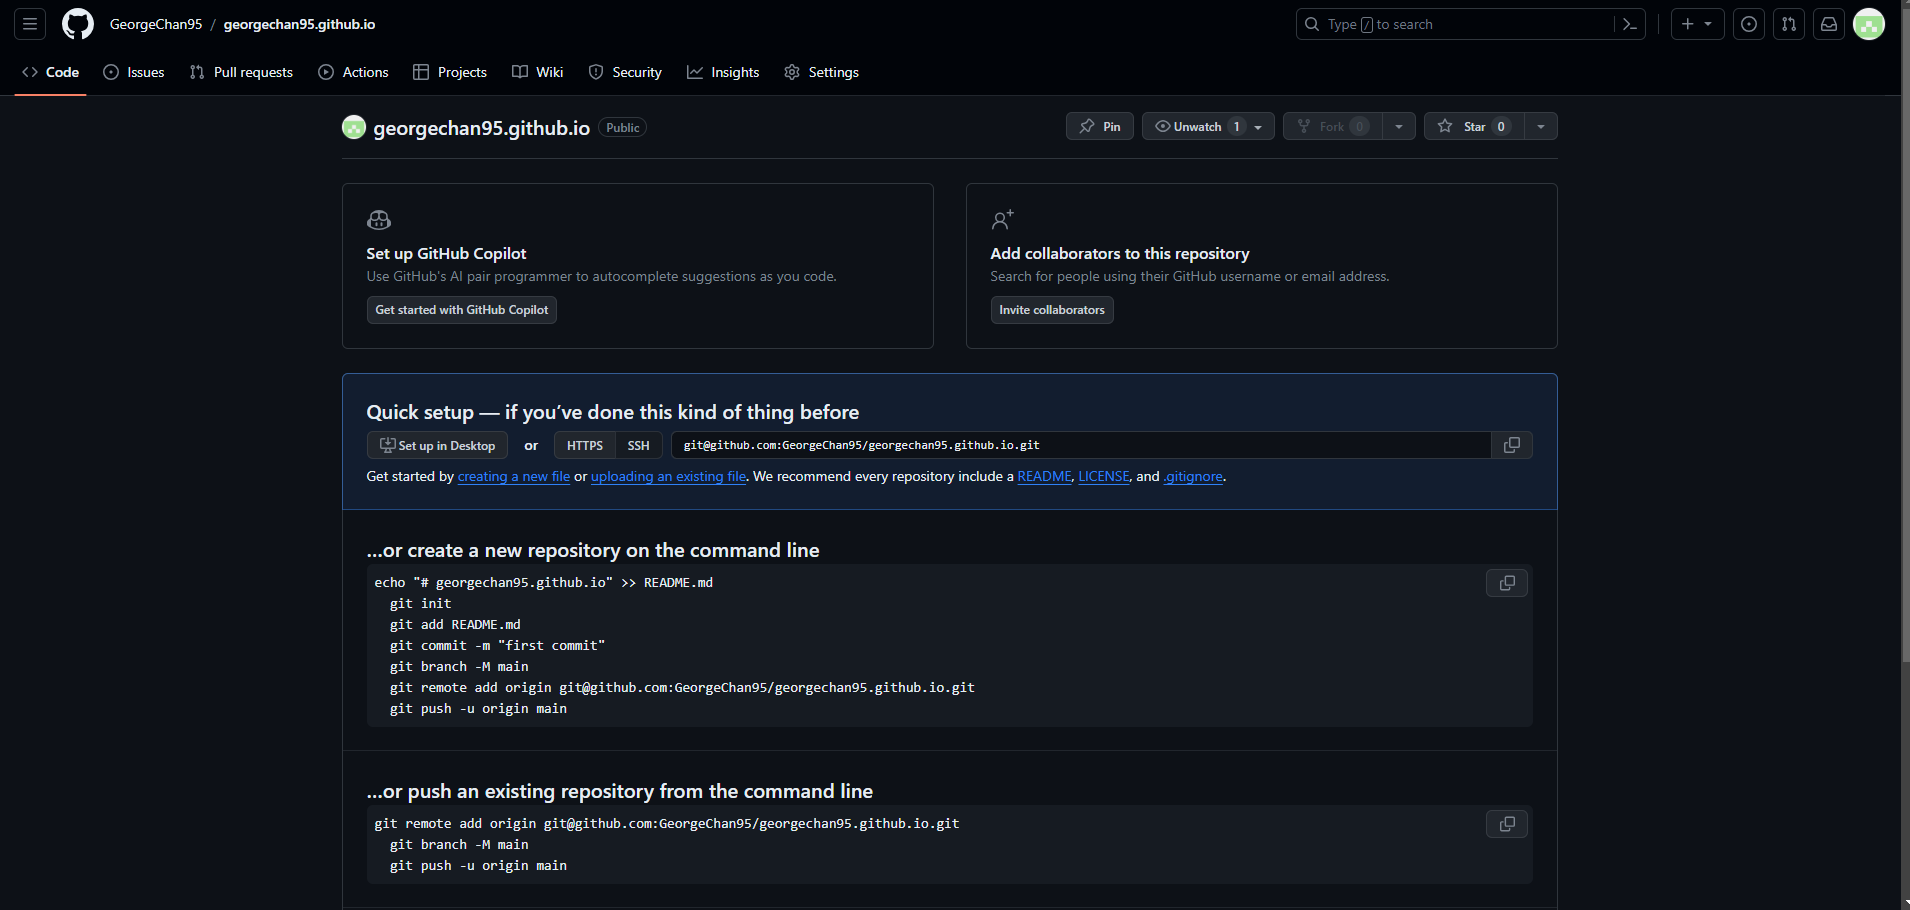
刷新Github仓库,查看是否推送成功
6. 访问Github Pages
浏览器访问Github Pages,查看个人博客,博客地址:https://仓库名,即:https://georgechan95.github.io/
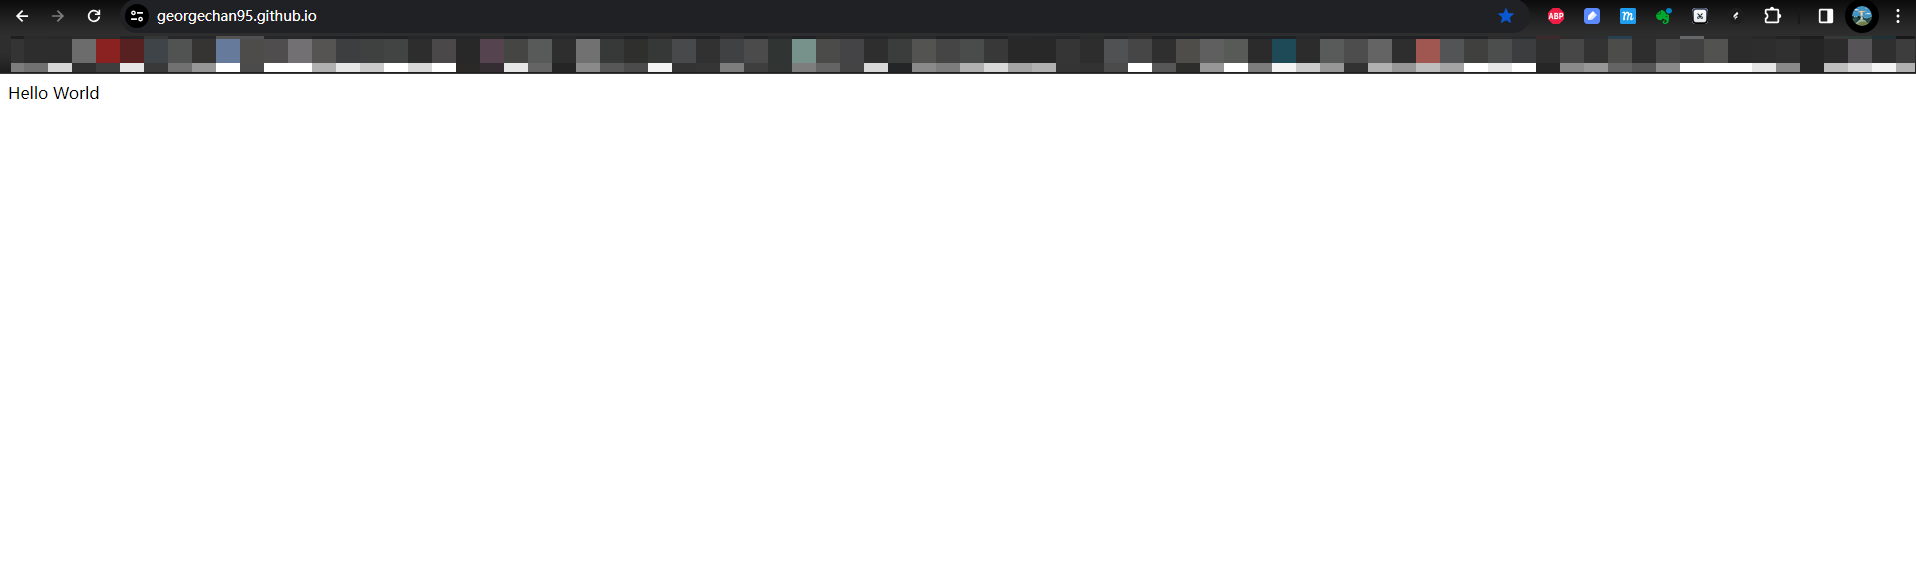
个人博客网页搭建测试成功,到此完成了搭建个人博客的第一步。
二、安装NodeJS
NodeJS官网:NodeJS
1. 下载NodeJS
这里我使用的是NodeJS 14.21.3 版本的,建议与我的大版本一致。
历史版本下载页面:历史版本
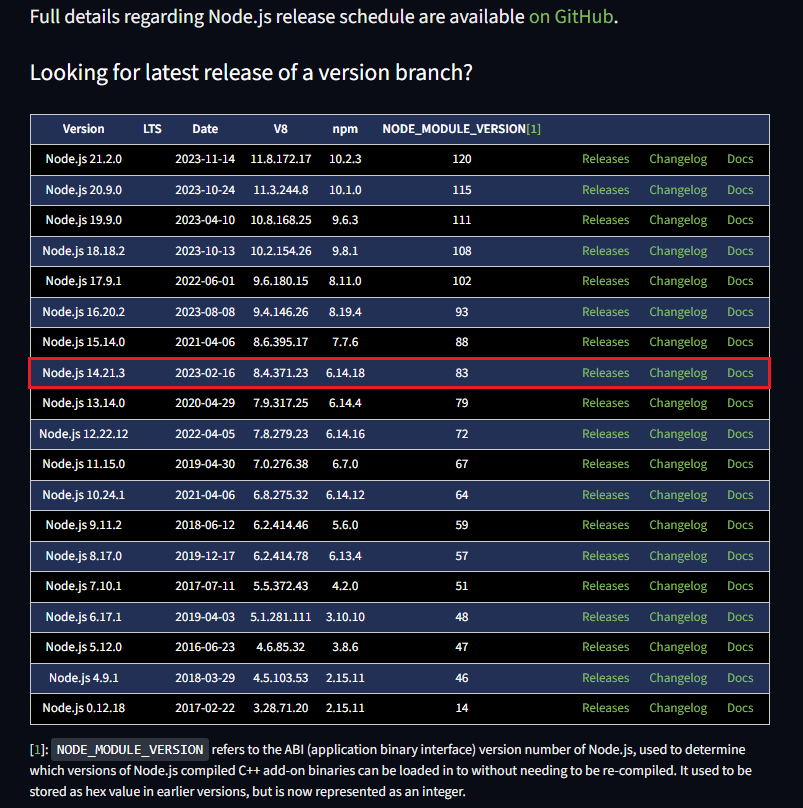
找到 14.21.3 版本,点击 Releases 下载
2. 安装NodeJS
NodeJS的安装基本就是一路点击 Next 即可,也不需要配置环境变量。

三、安装Hexo
1. 使用npm安装Hexo
windows使用cmd命令执行安装(以管理员身份运行)
npm install -g hexo-cli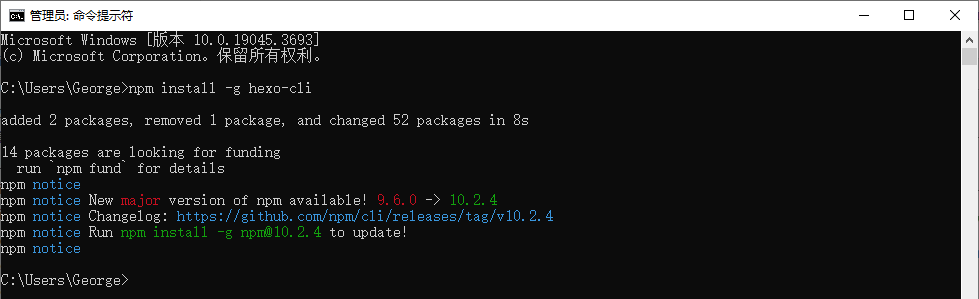
查看hexo版本号
hexo -v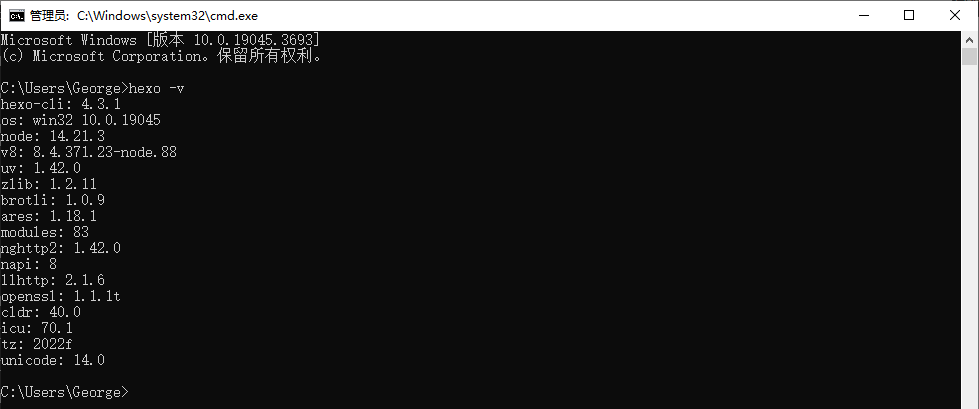
2. 初始化Hexo
2.1 初始化
创建一个文件夹,使用Hexo将该文件夹初始化,后面博客的编辑、生成、部署都在此文件夹下。
C:\Users\George>cd H:
H:\
C:\Users\George>H:
创建 hexo-blog 文件夹
H:\>mkdir hexo-blog
进入该文件夹
H:\>cd hexo-blog
执行命令,将文件夹初始化成博客文件夹
这一步执行快慢依个人网络情况而异,如果失败则多执行几次
H:\hexo-blog>hexo init
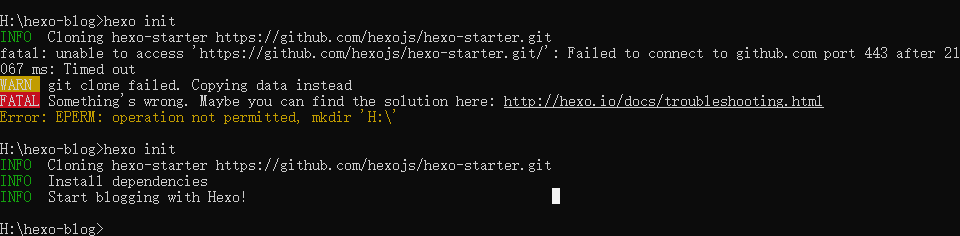
执行成功后,目录中会生成一些文件
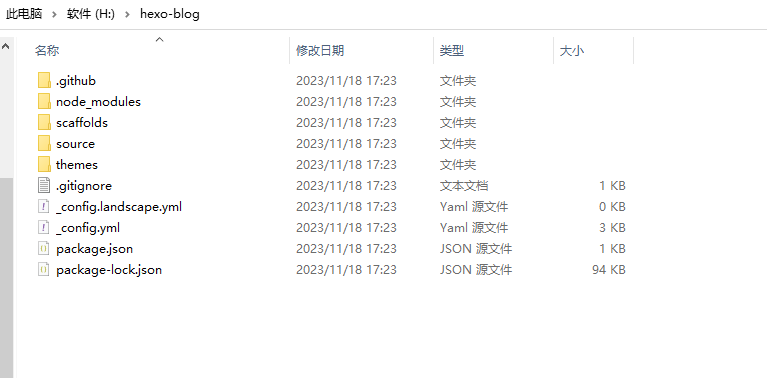
2.2 目录及文件解析
- themes
- 存放所有的博客主题,hexo 默认安装的主题是
landscape
- 存放所有的博客主题,hexo 默认安装的主题是
- source
- 存放所有的 markdown 源文件。所有新建的博文(post) 都存放在
source/_posts/这个目录下面。如果后面新建了其它页面,比如关于,归档,标签等,那么在source目录下面将会新产生about,achieve,tag等目录。
- 存放所有的 markdown 源文件。所有新建的博文(post) 都存放在
- public
- 这个目录中存放所有的网页文件,
html,css,javascirpt等等。简单说,hexo 会将我们编写的 markdown 文件解析成 html 文件,同时配套生成一些 css 样式文件,进而保护 markdown 源文件不被其他人获取。
- 这个目录中存放所有的网页文件,
- _config.yml
- 全局的配置文件,可以配置网站 标题, 子标题 等
3. 启动Hexo
安装以及初始化成功后,可以在本地启动 Hexo
hexo server 或者 hexo s
如果遇到 4000端口 被占用的情况,可使用命令更换启动端口
hexo s -p 5000
浏览器访问:http://localhost:4000/
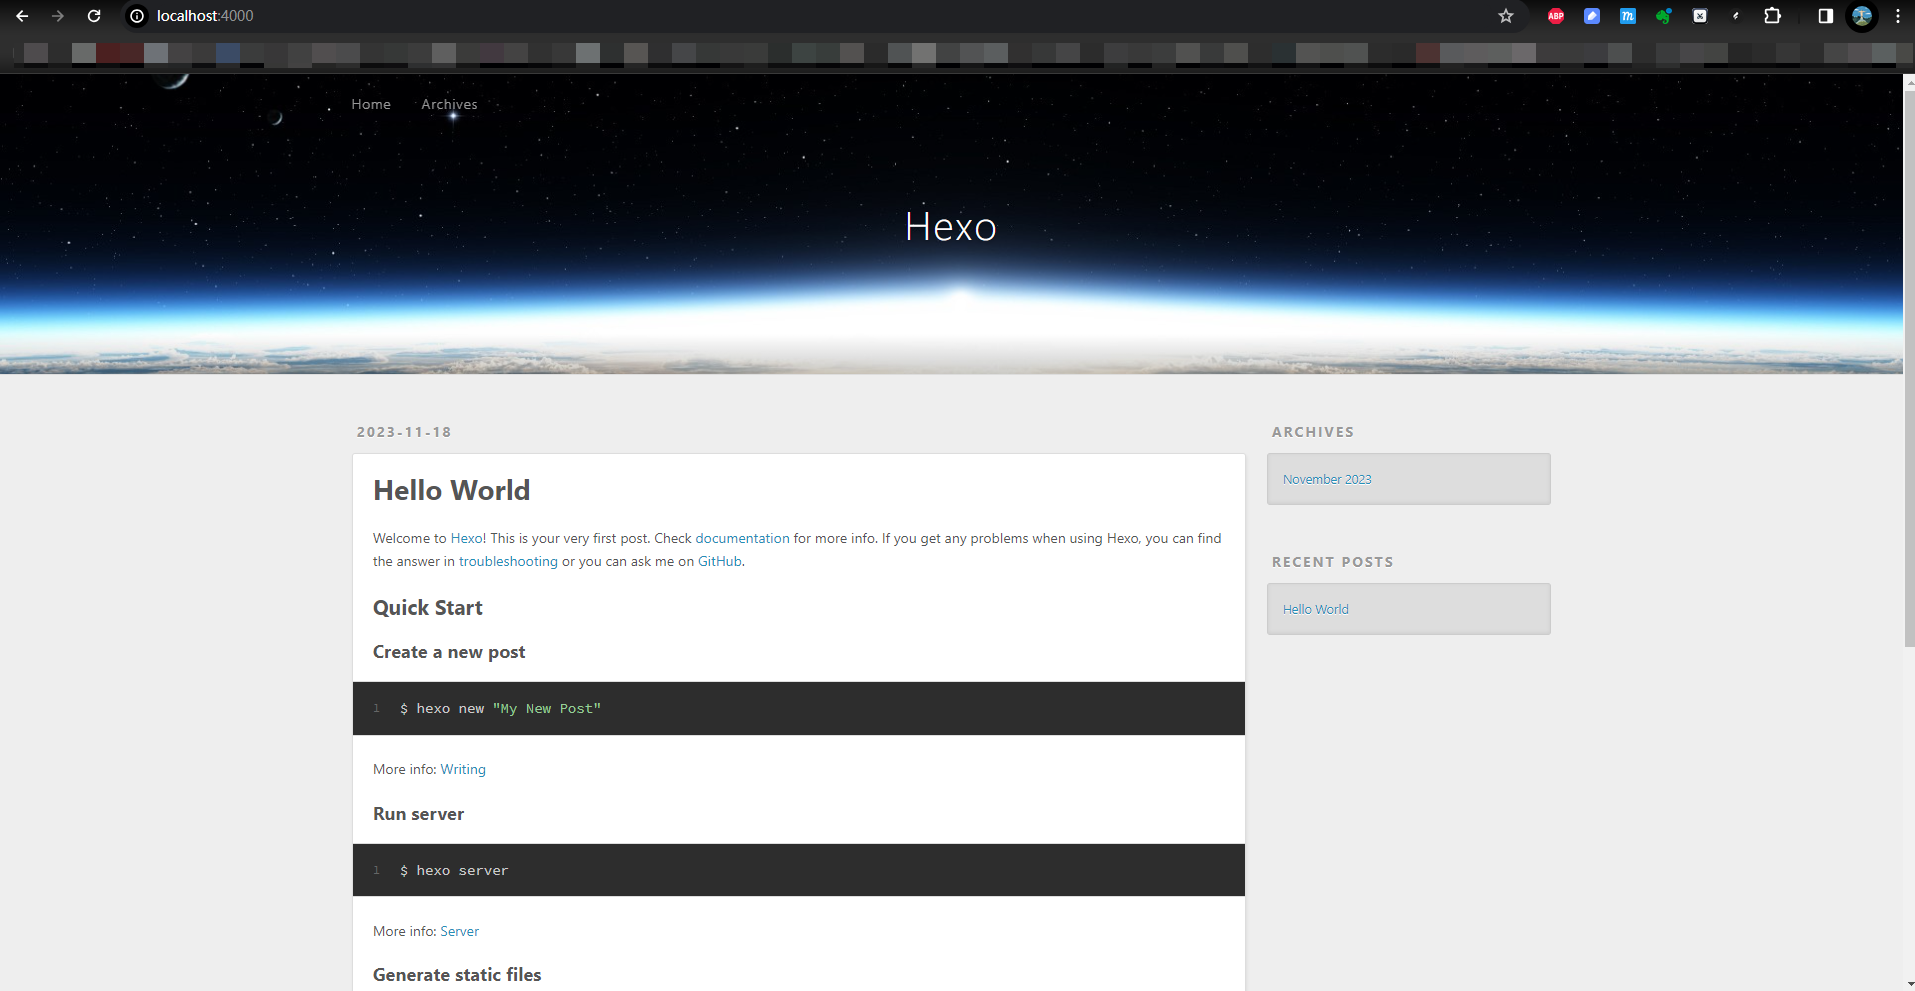
访问的这个页面的内容是执行hexo初始化时,默认生成的博客内容。
四、部署博客
将Hexo生成的博客部署到Github Pages实现在线访问。
1. 安装hexo-deployer-git
hexo博客部署需要的工具,使用npm命令行安装
npm install hexo-deployer-git --save
2. 修改 _config.yml
打开 hexo初始化文件夹下的 _config.yml 文件,修改 deploy 模块的内容,修改如下:
deploy:
    type: git # 不要使用github
    repo: git@github.com:GeorgeChan95/georgechan95.github.io.git # 使用ssh连接
    branch: main # 默认main分支
    message: update blog # 自动部署commit备注,可不填
注意:Github默认的仓库分支是 main,并不是master
url 修改为 Github Pages 访问的url
url: https://georgechan95.github.io/保存配置!
3. 生成和部署
在CMD命令行中操作,生成博客,并将博客部署到Github。
清除缓存
H:\hexo-blog>hexo clean
INFO Validating config
......
H:\hexo-blog>hexo generate
INFO Validating config
......
H:\hexo-blog>hexo deploy
......
branch 'master' set up to track 'git@github.com:GeorgeChan95/georgechan95.github.io.git/main'.
INFO Deploy done: git
H:\hexo-blog>由于在 _config.yml 配置的Github仓库地址使用的是SSH连接,因此需要另外在Github中配置 SSH Key ,否则执行 hexo deploy时会报错:
Please make sure you have the correct access rights
and the repository exists.
FATAL Something's wrong. Maybe you can find the solution here: https://hexo.io/docs/troubleshooting.html
Error: Spawn failed
    at ChildProcess.<anonymous> (H:\hexo-blog\node_modules\hexo-deployer-git\node_modules\hexo-util\lib\spawn.js:51:21)
    at ChildProcess.emit (events.js:400:28)
    at ChildProcess.cp.emit (H:\hexo-blog\node_modules\cross-spawn\lib\enoent.js:34:29)
    at Process.ChildProcess._handle.onexit (internal/child_process.js:285:12)
SSH Key的配置方式,见 章节5:配置Github
4. 查看博客
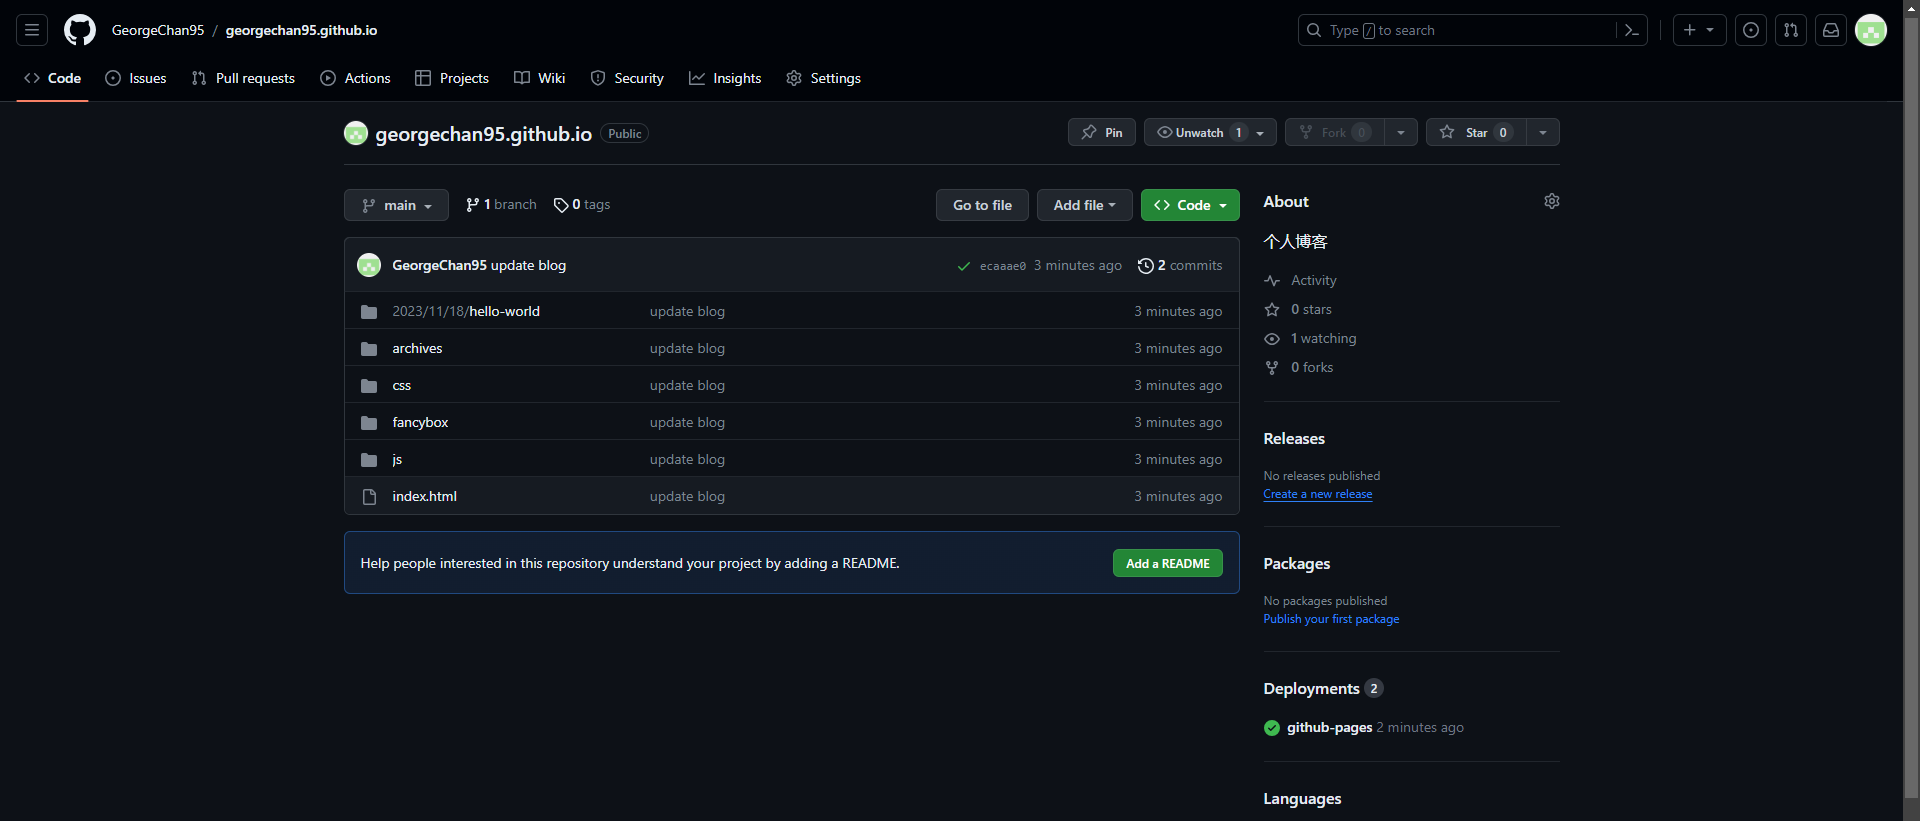
4.1 查看Github仓库
刷新Github仓库,查看生成的博客静态页面相关资源已经推送到Github仓库。
4.2 查看个人博客页
浏览器访问个人博客url:https://georgechan95.github.io/
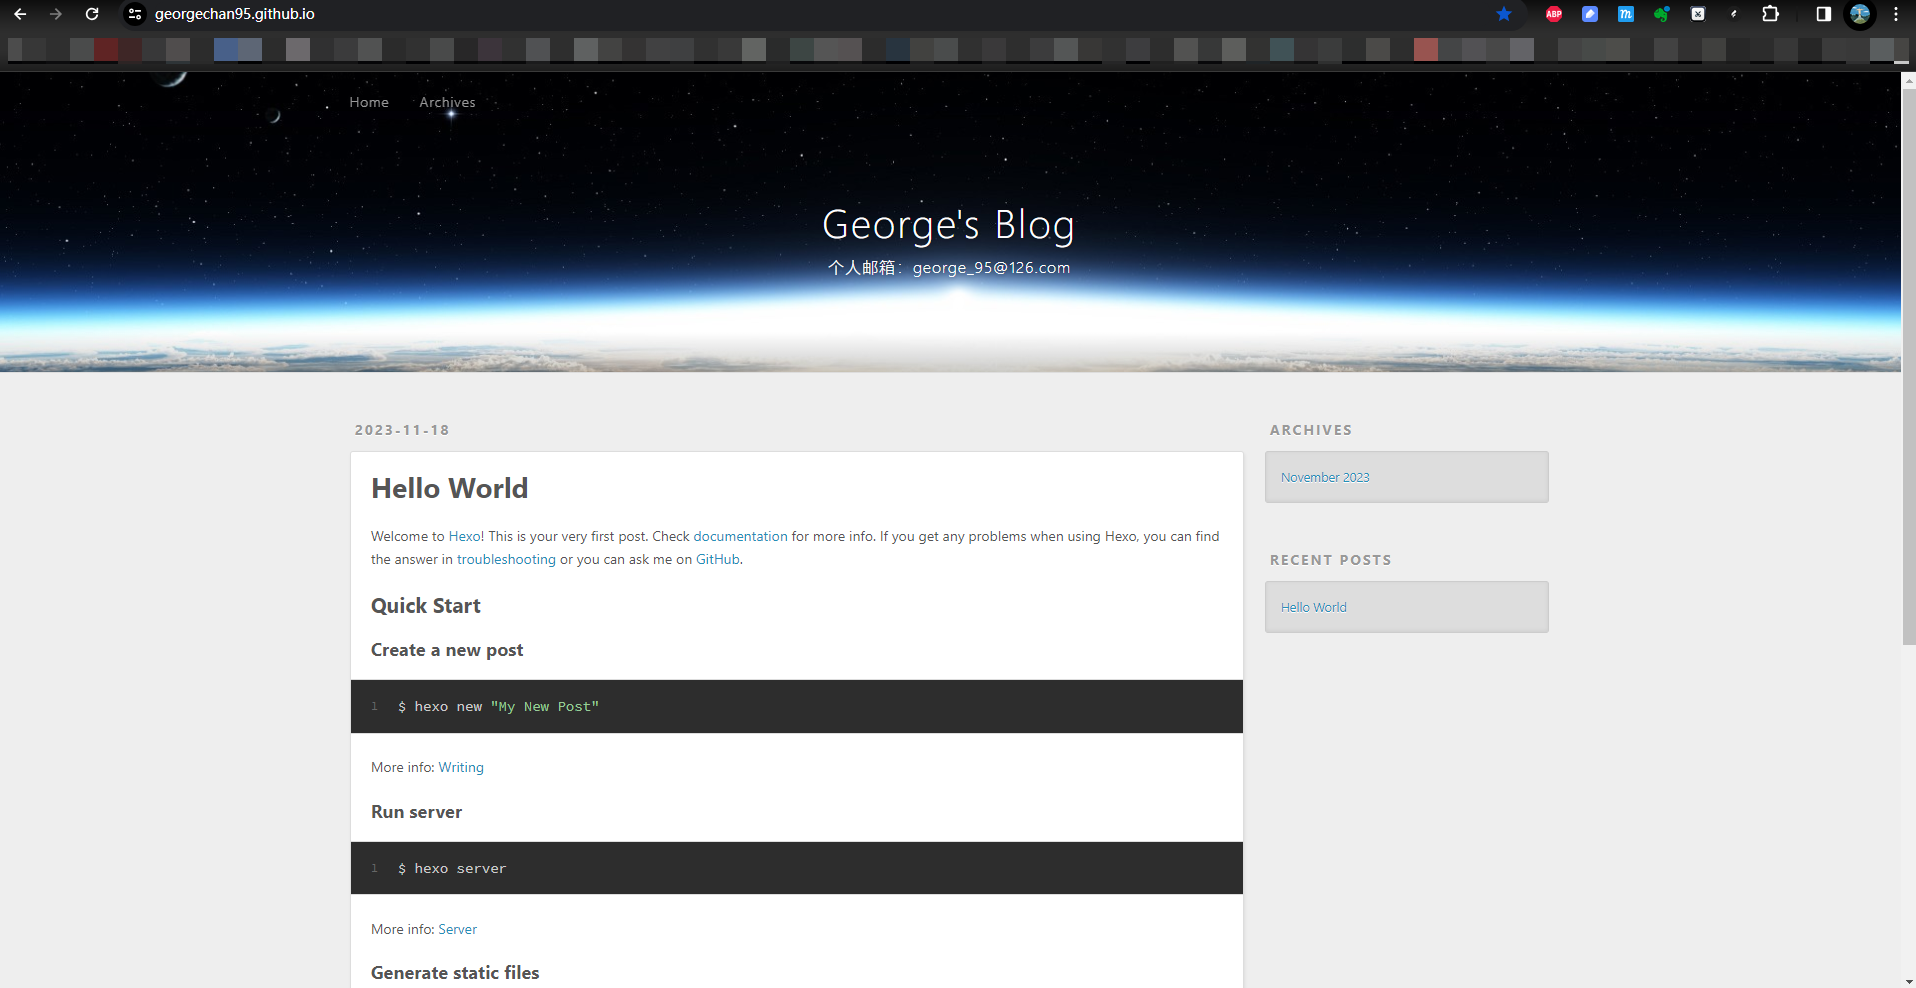
博客已成功部署到Github Pages
五、配置Github
由于在 _config.yml 配置的Github仓库地址使用的是SSH连接,因此需要另外在Github中配置 SSH Key
1. 配置Git用户名和邮箱
邮箱使用Github绑定的邮箱。
设置用户名
git config --global user.name "George"
设置Github绑定的邮箱
git config --global user.email "george_95@126.com"
测试配置是否成功
git config user.name

git config user.email
2. 创建密钥
输入命令创建密钥,需要交互的地方直接回车即可。
ssh-keygen -t rsa -C "george_95@126.com"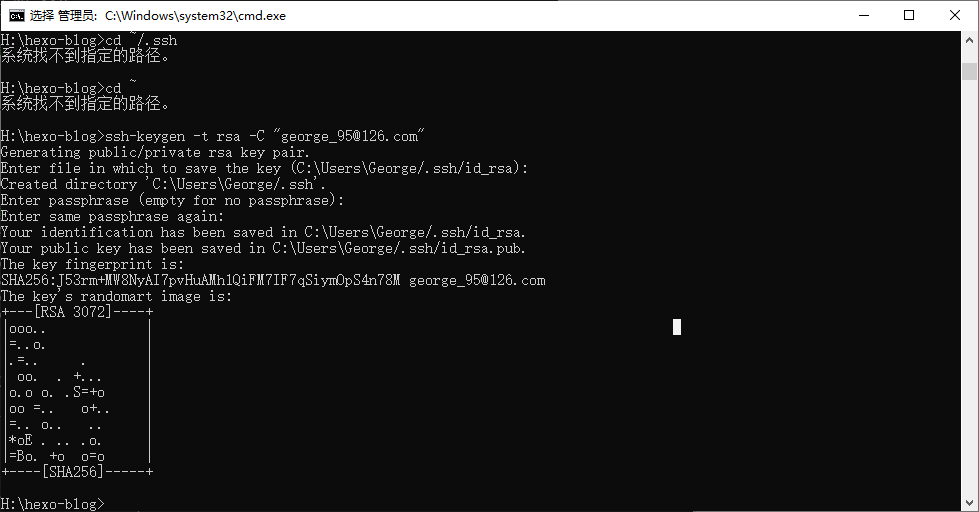
- 生成私钥路径:C:\Users\George/.ssh/id_rsa
- 生成公钥路径:C:\Users\George/.ssh/id_rsa.pub
3. 配置GitHub SSH Key
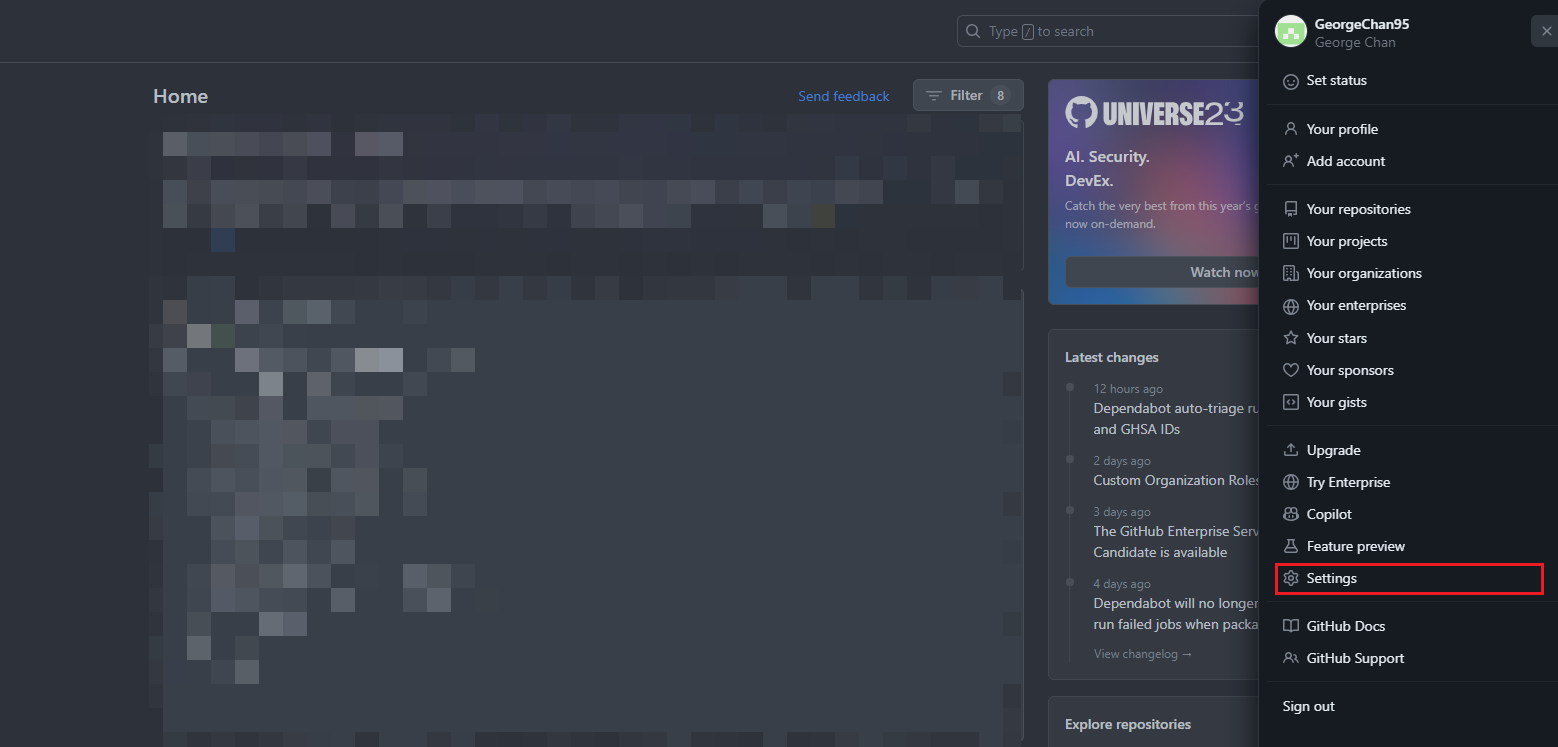
打开Github –> 点击头像 –> Settings –> SSH and GPG keys –> 点击 New SSH key –> 填写Title(随便写) –> 选择 Key type 为 Authentication Key –> 填写 Key (内容为上一步创建的公钥的完整内容) –> 点击 Add SSH key 保存
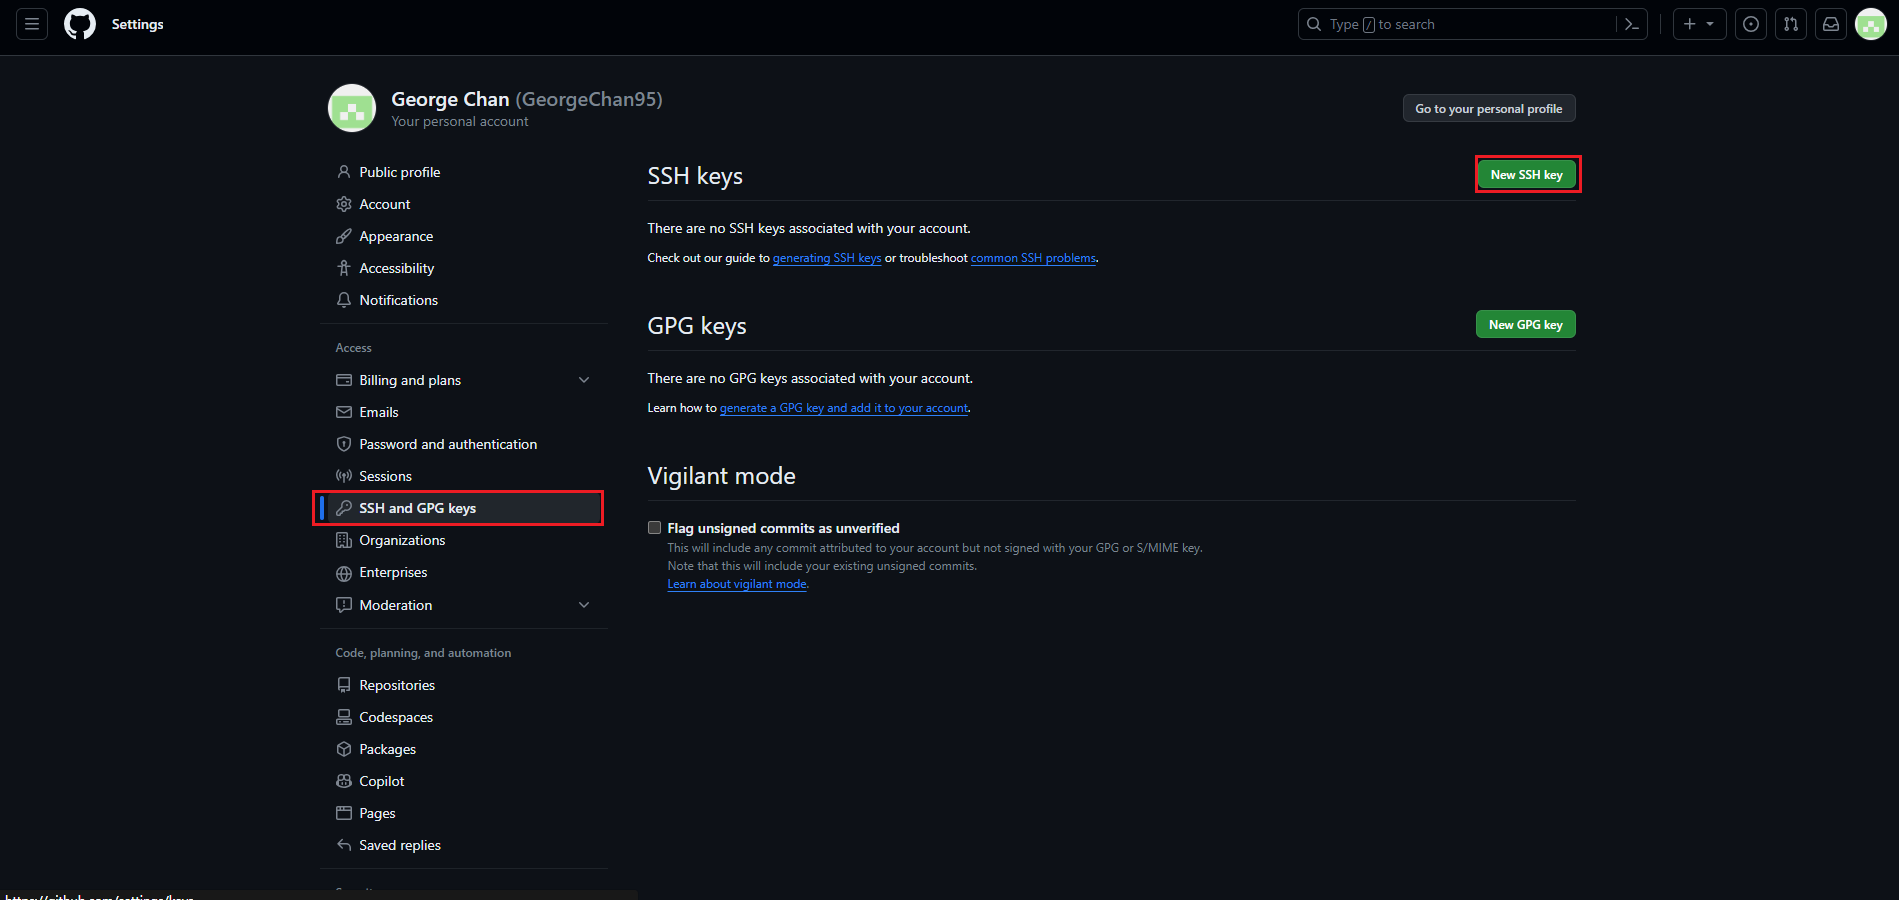
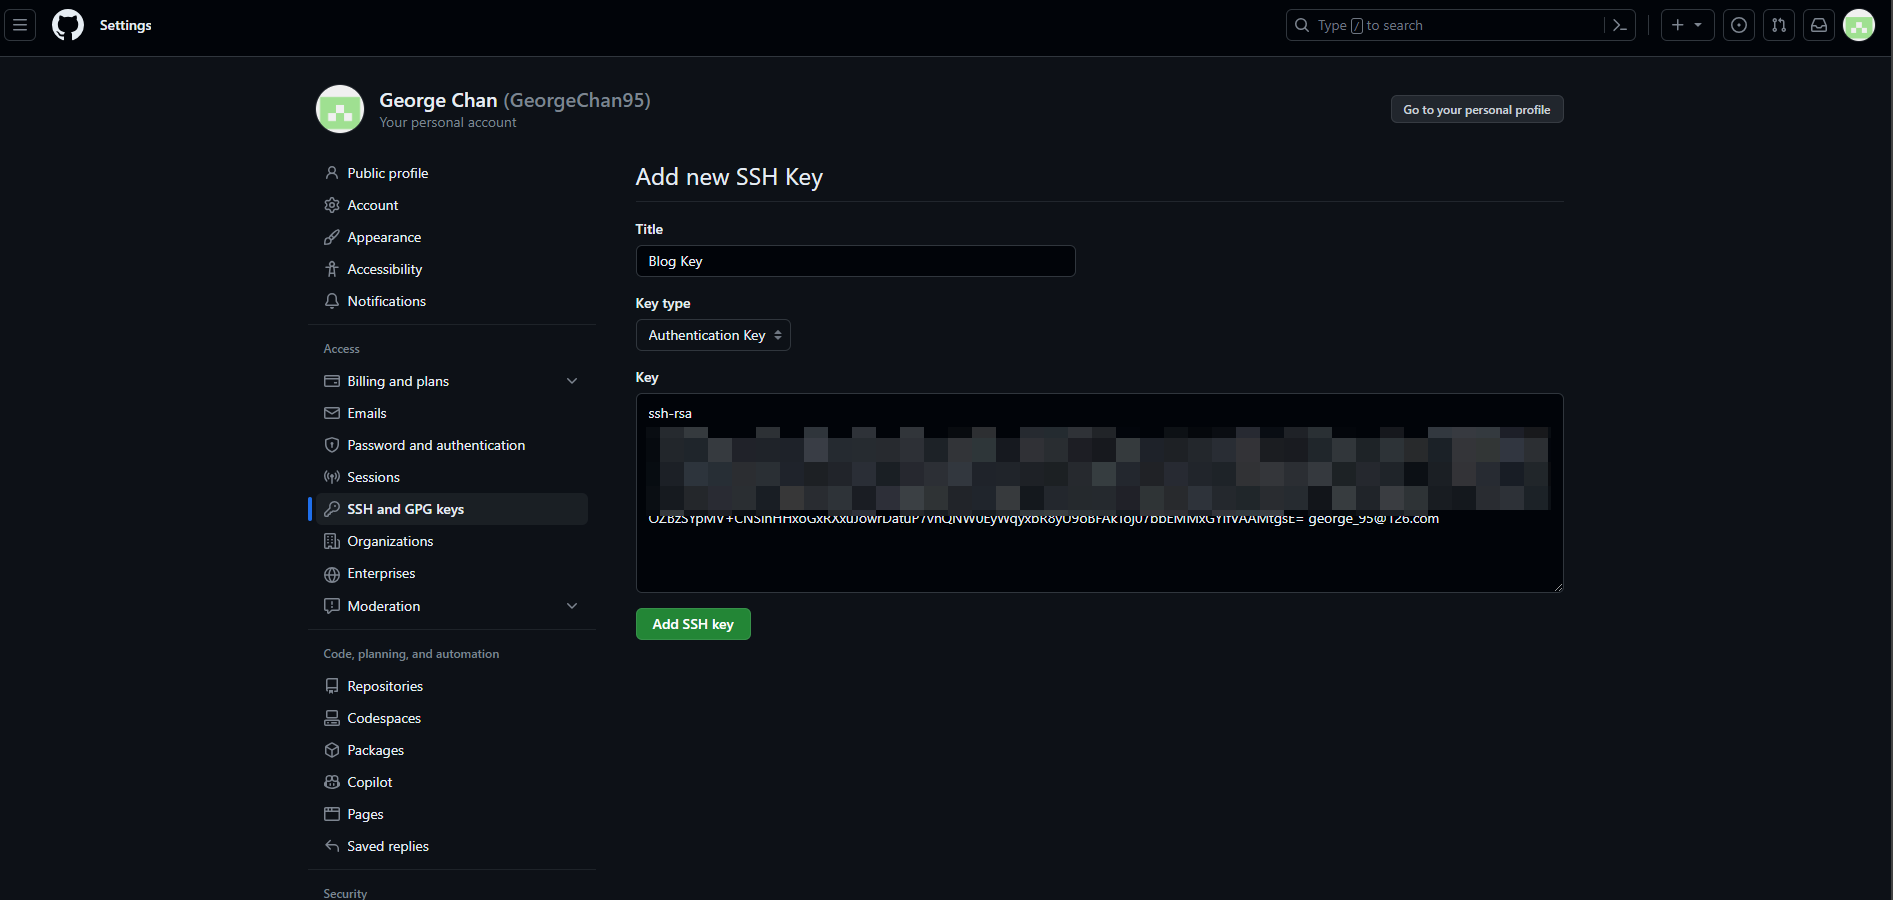
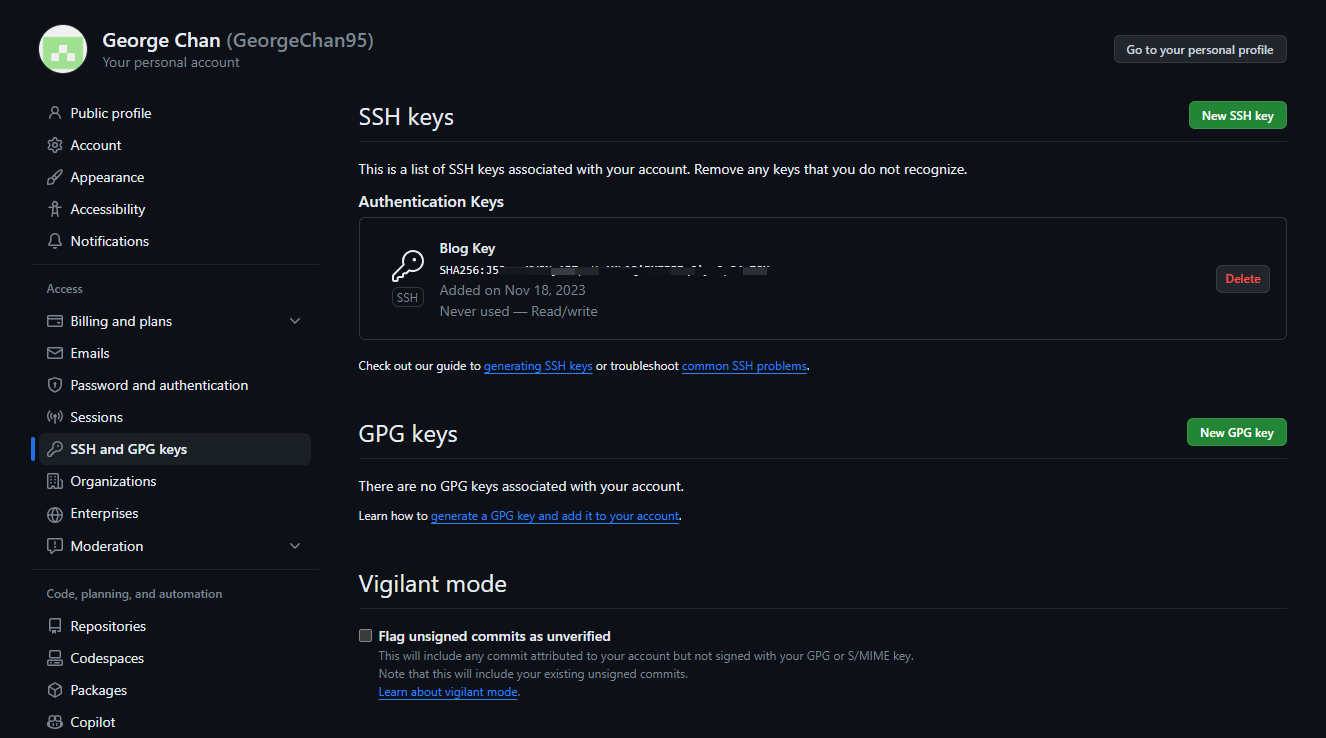
配置Github SSH Key 操作完成。
4. 验证博客更新
修改博客内容,再次执行命令部署到Github
清空缓存
hexo clean
生成博客
hexo g
部署到Github
hexo d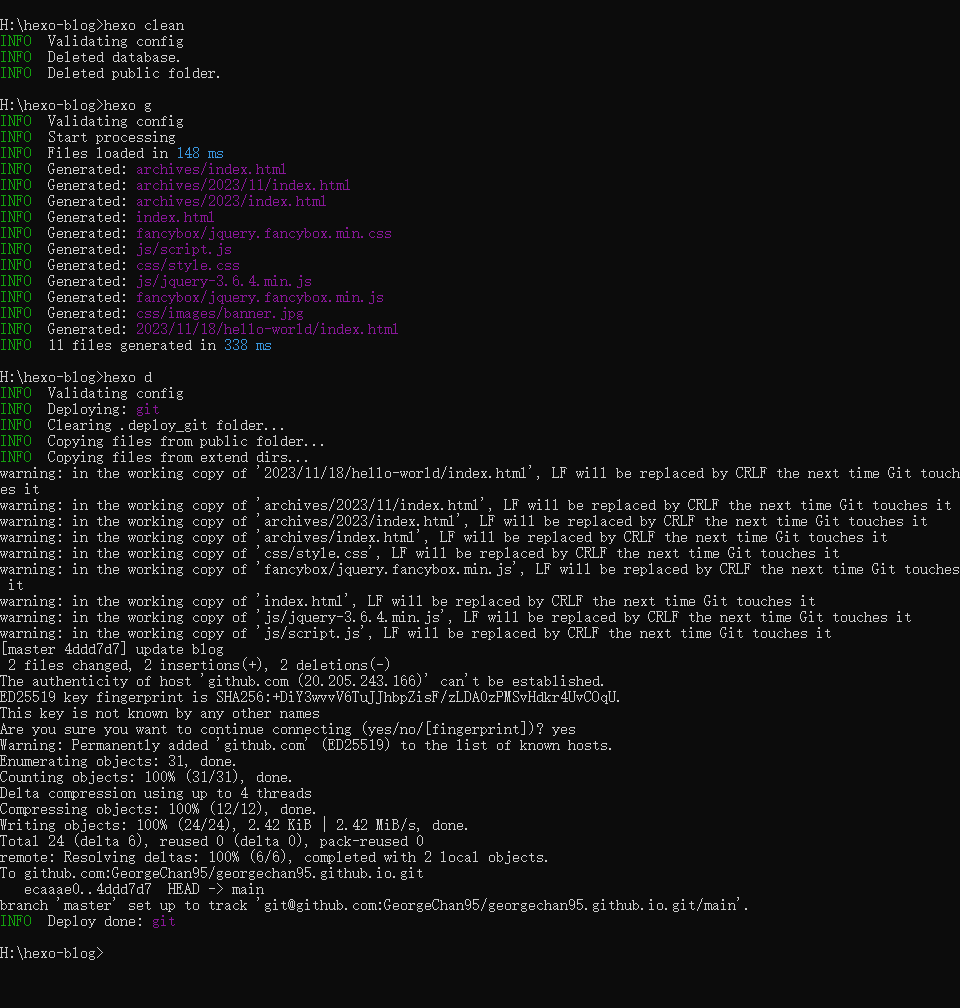
结束!
转载请注明来源,欢迎对文章中的引用来源进行考证,欢迎指出任何有错误或不够清晰的表达。可以在下面评论区评论,也可以邮件至 george_95@126.com